
"Ok!" I exclaimed to my husband, pulling out the camera and cord to load on pictures. "That's it! I'm blogging!" I pushed away the homework, flashcards, powerpoints and dishes. I'm taking time to do something that makes me happy! Celebrating the little things, of course. And we have some catching up to do.
First of all our new apartment is so lovely (not from the outside, but inside is nice). We finally got all the pictures hung (my husband put his tool kit that I bought him for Christmas to good use) and the cupboards filled. we met our ward, both got jobs, and both started school. Life is crazy and wonderful! I'm hardly home during the week, but I always get a smile out of the little things in our apartment.
Especially the organized parts. With everything so crazy, we need our apartment streamlined. One of the little things that is such a time-saver is my kitchen drawers. Oh, yes. It makes sense. Check it out:


Making lunches is such a breeze! All of our snacks are divided out into portion sizes- all I have to do in the morning is grab a few and throw them in my bag. With a main dish, but still. The time-consuming part is done! LOVE this idea.
The next organization/streamline inspired DIY project hangs on the wall in our kitchen. It ensures we NEVER have to look for keys when we're rushing out the door (well, ok, I'm the one rushing. Marcus is always calm and on time. He's so good). But it works so well, and it's so functional!
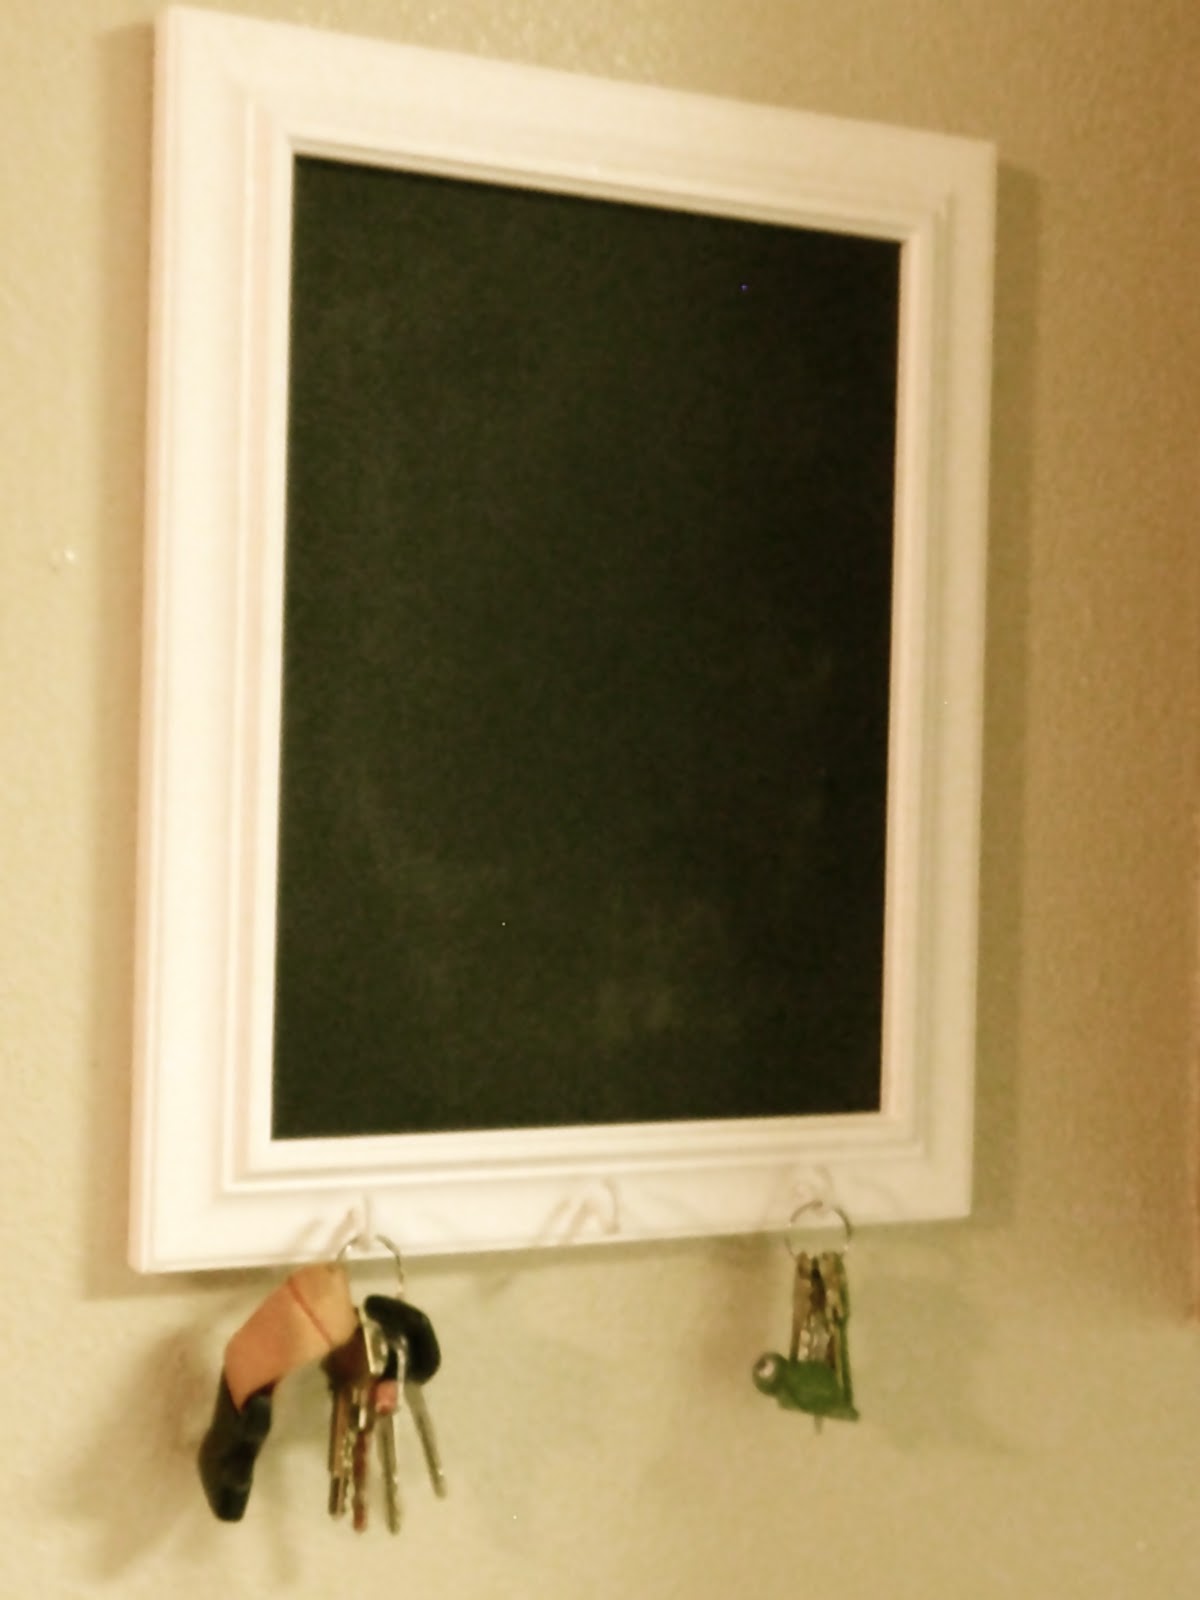
All I did is take a frame that I liked and made it into a chalkboard. Actually, I used this board for our wedding, so I've had it for a while. I decided to take it with us when we moved and I'm so glad!
(If you want to know how to make the frame into a chalkboard,
I used this tutorial I found on Pinterest)

Since I already had the time-consuming part done, the rest was easy. I purchased some screw hooks at Wal-Mart. I liked these because they were rubber and looked really finished. Then, I seriously just screwed them into the frame (I just "eye-balled" the placement, but you can go crazy and measure it all out). I love, love, love this. It was cheap, it was easy, and it's functional!
**Note: If you do this craft, be sure to screw in the screws VERY straight. They will go in without the use of tools- just pressure and a steady hand. It's easy to mess up.
Ok, a few more delicious details- then its back to the books for me!

MY GORGEOUS KITCHEN AID!!! I love it so, so, so much. It is the centerpiece of my kitchen.

Adorable coasters- I made these with my mom before I left. All you have to do is stamp a piece of tile (with a regular stamp and ink), let it dry, and spray it with lacquer. Then I attached felt feet to the bottom. So slick!

I love the bike!

Weekly menu planner! Time saving and smart. Yup, that's what my husband and I are eating this week, people. Don't think poorly of me for having cheese sandwiches one night, we get home from class at 10pm. Haha, it kinda sucks. But my brother gave me a hard time when he saw that. Jokingly, of course. :)

How cute are these button magnets?? I fell in love. I just made them by hot-glue gunning a round black magnet to the back of decorative button faces. (Our friend gave the buttons to us, I wish I knew where she got them- but I'm sure you could find it at any craft store, or even Wal-Mart).

This is the inspiration board I put up in our walk-in closet. Pinterest has escaped into my house! Haha, my husband thinks I'm addicted.
...............
He's so right.

And last, but not at all least- the decorative letters we have up in our dining room (which is so empty right now, we don't have a dining room table...
We eat off of rubbermaid containers... haha. Times are fun!)
Ok, well- I'm off to tackle some American History!
See you all soon!
And please, if you have any questions about how anything was made or how I got the ideas, don't hesitate to ask- leave a comment below, and I'll get back to you!
No comments:
Post a Comment